The first time I experienced Bananas Foster was while I was a State FFA Officer. I had always heard of it but had never had it before. Bananas Foster really is not a very popular dessert for most 18 year olds, go figure. During our State Officer year we had to live on the Oregon State Fairgrounds for almost three weeks in August, in an old, concrete dorm room building with creaky metal bunk beds that I am pretty sure came from the Salem Insane Asylum. Hello, One Flew Over the Cuckcoo's Nest. By the end of the three weeks I was feeling a bit cuckoo myself.
Thankfully we did not have to eat fair food or take out while we were there and had access to a kitchen. One night one of the chaperons made us bananas foster for dessert. It seemed like such a treat to have after a long day. Ever since that encounter I have been hooked on this dessert.
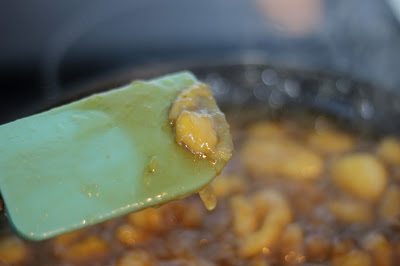
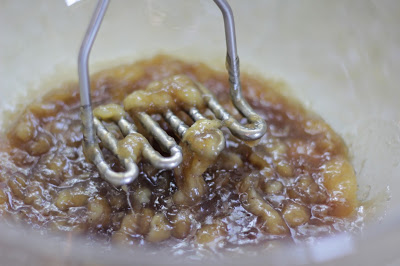
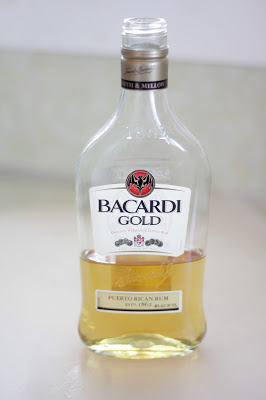
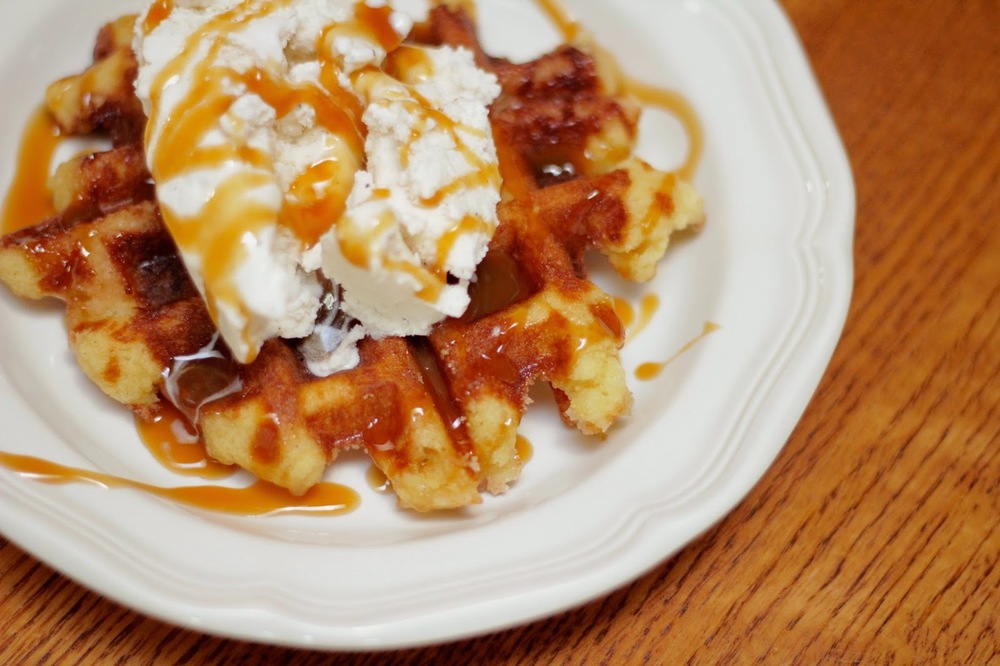
If you have never had it before, it is bananas sauteed in butter and brown sugar, creating a rich caramelly sauce and then to top it off, rum is added and then lit on fire to burn off the alcohol. The sauce and bananas is then poured over vanilla ice cream, so good!
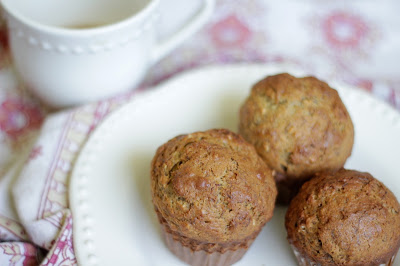
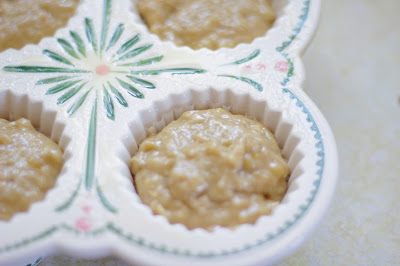
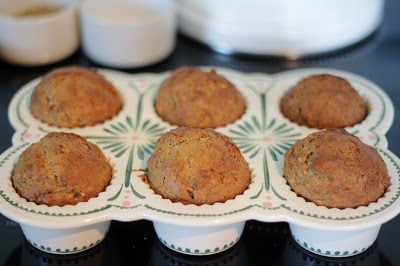
I decided to try my hand at turning this dessert into a banana muffin and was super happy with the way they came out! These muffins have a slightly crunchy outside, from the caramel sauce and a cooked banana flavor, instead of the harsh raw banana flavor you can sometimes get with other banana breads. They are my favorite right out of the oven, like most muffins and the best part is, you do not have to wait until you have brown bananas to make them!
Bananas Foster Muffins
Makes 1 Dozen
3 bananas
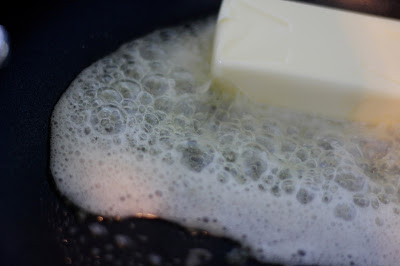
1/2 c. butter (1 stick)
1/2 c. brown sugar
1/2 c. white sugar
2 eggs
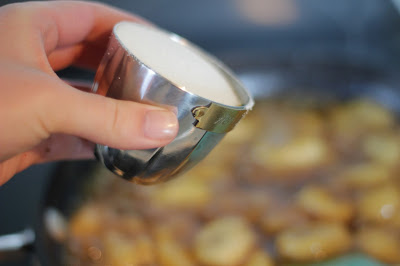
2 tbsp. rum
1/3 c. milk
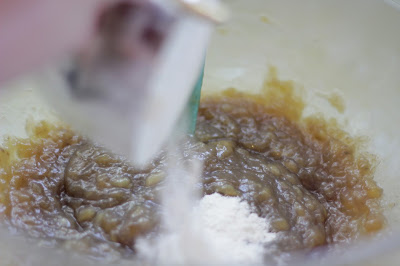
1/2 tsp. salt
1 tsp. baking soda
1 2/3 c. flour
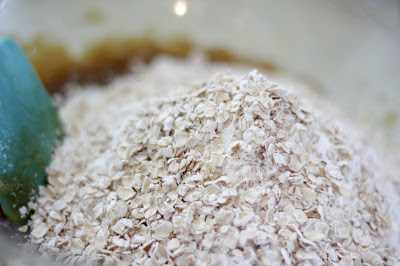
1/3 c. instant oats
Preheat oven to 350 degrees. Warm saute pan over medium high heat. Peel and dice bananas and melt butter in saute pan. Add bananas to pan and saute for one minute. Add in brown and white sugars and cook until a caramel sauce begins to form, approximately 5 minutes, stirring constantly. Remove from heat and let cool.